Ink, Print, Carve, Repeat
Linocut Season, Episode 4
The past weekend was one of those where I wanted to do everything, but didn’t have time to do it all. I definitely wanted to make some prints, but also didn’t want to spend an entire day doing that. So I decided I would spend a few hours on printmaking, leaving me with enough time for all the other things I wanted to get done.
With the limited amount of time I had, I knew I wasn’t going to experiment loads. My goal for the printing session was to do some test prints on plain old printer paper, and tidy up the linocut where necessary. For the test prints I used Speedball block printing ink (water soluble) in black, and later on I added yellow and blue. Let me show you my progress.
The first time I inked my lino, I put tape over the edges to keep them clean. I had to remove the tape before printing, and quickly realised that I really didn’t want to keep having to re-tape the edges for every new inking. So after the first test print, I cut off the edges of the linocut completely. The only drawback was that with the edges, the linocut was very close to the size of the paper I was using (A4), and without, I had to be a bit more careful about where the corners of my paper went to keep the print (somewhat) centred.
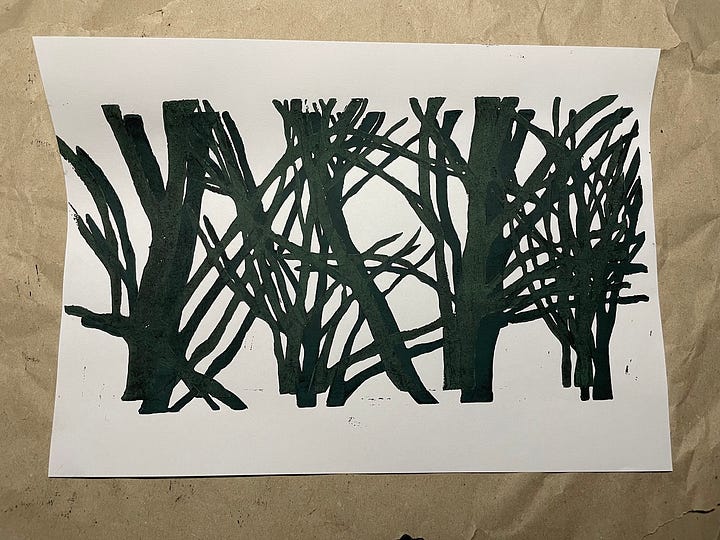
In my first attempt (above), I didn’t use enough ink. Other than that, I was quite happy with the image I had managed to create in linocut.
For attempt number two (below), I used more ink, which resulted in a better print, but here the background noise of the linocut came through.
This attempt showed me exactly where the linocut needed some work. I carved out some more of the background, and made a third test print (below).
By this time, I was inking rather enthusiastically, so the trees are a nice deep black. But this also meant that the background picked up some ink, and once again the print showed me where I had some more carving to do.
In attempt number four (below), the noise is mostly gone. Just a tiny bit left to carve away!
And finally, attempt number five showed hardly any background noise (although I could have done a better job of inking the linocut for this attempt):
There’s a fun little artefact in the last few prints above, in the left-most tree. A small flake of lino had fallen onto the linocut after attempt number 2 and I had inked over it a couple of times. It showed up really clearly in my fifth print, after which I cleaned it off.
When these test prints were done and I was happy with how clean the image looked, I played around a little with overlapping prints, and I added some colour to my prints.


Finally, it was time to tidy up, so I decided to pull one last print off my linocut. There was still some ink on the block from the last print I did, so I was curious to see what the resulting image would look like.
I actually really like this effect! It gives the trees some structure, almost like they’re covered in moss. Definitely something I want to experiment with further!
Still to come
I recently bought some nice thin paper made specifically for lino and block printing, so I look forward to trying that out. I also have some oil-based ink, and I’d like to see how that compares to the Speedball ink I used here. I’ll need to get a feel for the amount of ink as well as pressure needed for a nice clean print. And it would be a good idea to be a bit more careful in wiping excess ink from the background parts of the block, to avoid any unwanted noise in the printed image.
Enough to do and learn for a while yet!
Do you have any crafting questions or suggestions? Or do you just want to say hi? Leave a comment using the button below!


Leuk! Interessant te experimenteren met hoogte van verschillende delen van de lino-uitsneden om zo een suggestie van diepte (scherp (zwart) aan de voorkant, wazig (grijs) naar achteren) te verkrijgen.
Gr,R.